Exterior acrylic wall primers are essential for preparing your walls for paint, but like any product, they can sometimes present challenges. Understanding and troubleshooting common issues that may arise when using acrylic wall primers can save you time and frustration during your painting projects. In this blog post, we will explore some of the most frequent issues and how to address them effectively.
Peeling or Flaking Primer:
One common issue with acrylic wall primers is when they start peeling or flaking after application. This usually occurs when the surface was not properly prepared before priming. To troubleshoot this issue:
Prep the Surface:
Ensure that the wall is clean, dry, and free from dirt, dust, and any loose paint or previous coatings. Proper surface preparation is crucial to achieving adhesion.
Use the Right Primer:
Make sure you are using the appropriate acrylic wall primer for your specific surface. Some primers are designed for specific materials, such as masonry or wood. Check the label and product specifications to ensure compatibility.
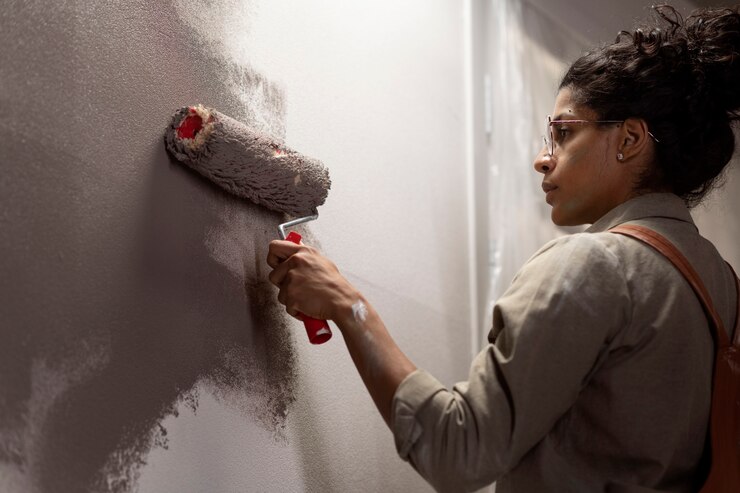
Apply Thin, Even Coats:
Apply the primer in thin, even coats, allowing each coat to dry completely before applying the next. Thick or uneven coats can lead to adhesion problems.
Streaks and Uneven Coverage:
Acrylic wall primer streaks and uneven coverage can be a frustrating issue. To address this problem:
Mix the Primer Thoroughly:
Sometimes, the primer can settle, leading to uneven distribution. Always mix the primer well before use to ensure a consistent texture and coverage.
Use a High-Quality Brush or Roller:
The tools you use can affect the finish. Invest in a good-quality brush or roller to ensure even application.
Apply a Second Coat:
If you notice streaks or uneven coverage after the first coat has dried, apply a second coat. This can help achieve a more uniform appearance.
Bubbling or Blistering:
Bubbling or blistering of the acrylic wall primer can occur due to various factors, including moisture issues and poor ventilation. Here’s how to troubleshoot this problem:
Address Moisture Problems:
If you suspect moisture is the culprit, identify and fix the source of the moisture before applying the primer. Waterproofing or sealing the surface may be necessary.
Improve Ventilation:
Ensure proper ventilation during application and drying to allow moisture to escape. Inadequate ventilation can trap moisture, leading to blistering.
Scrape and Sand:
If bubbles or blisters have already formed, you’ll need to scrape and sand the affected areas before applying a new coat of primer.
Drying Time Issues:
Acrylic wall primers typically have a relatively quick drying time, but in some conditions, they can take longer to dry. To troubleshoot drying time issues:
Check Weather Conditions:
Humidity and temperature can affect drying times. Ensure you are applying the primer within the recommended environmental conditions specified on the product label.
Apply Thin Coats:
Thick coats of primer can take longer to dry. Apply thin, even coats for quicker drying times.
Use a Primer Accelerator: Some products offer accelerators that can speed up drying times. Check if your primer manufacturer provides this option.
In conclusion, exterior acrylic wall primers are a vital part of the painting process. When used correctly and with proper troubleshooting, you can overcome common issues such as peeling, streaking, bubbling, and drying time problems. Remember that surface preparation, proper tools, and following product guidelines are key to achieving a successful and long-lasting paint job. Always refer to the manufacturer’s instructions for the specific primer you’re using to ensure the best results.